Projects and Teams
Use Projects to organize checks in your ztn.sh healthchecks account. Your account initially has a single default project. You can create additional projects and transfer your checks between them as your usage grows.

Checks and integrations are project-scoped: each check and each configured integration always belongs to a particular project.
Team Access
You can grant your colleagues access to a project by inviting them into the project's team. Each project has its separate team, so you can grant access selectively. Inviting team members is more convenient and more secure than sharing a password to a single account.
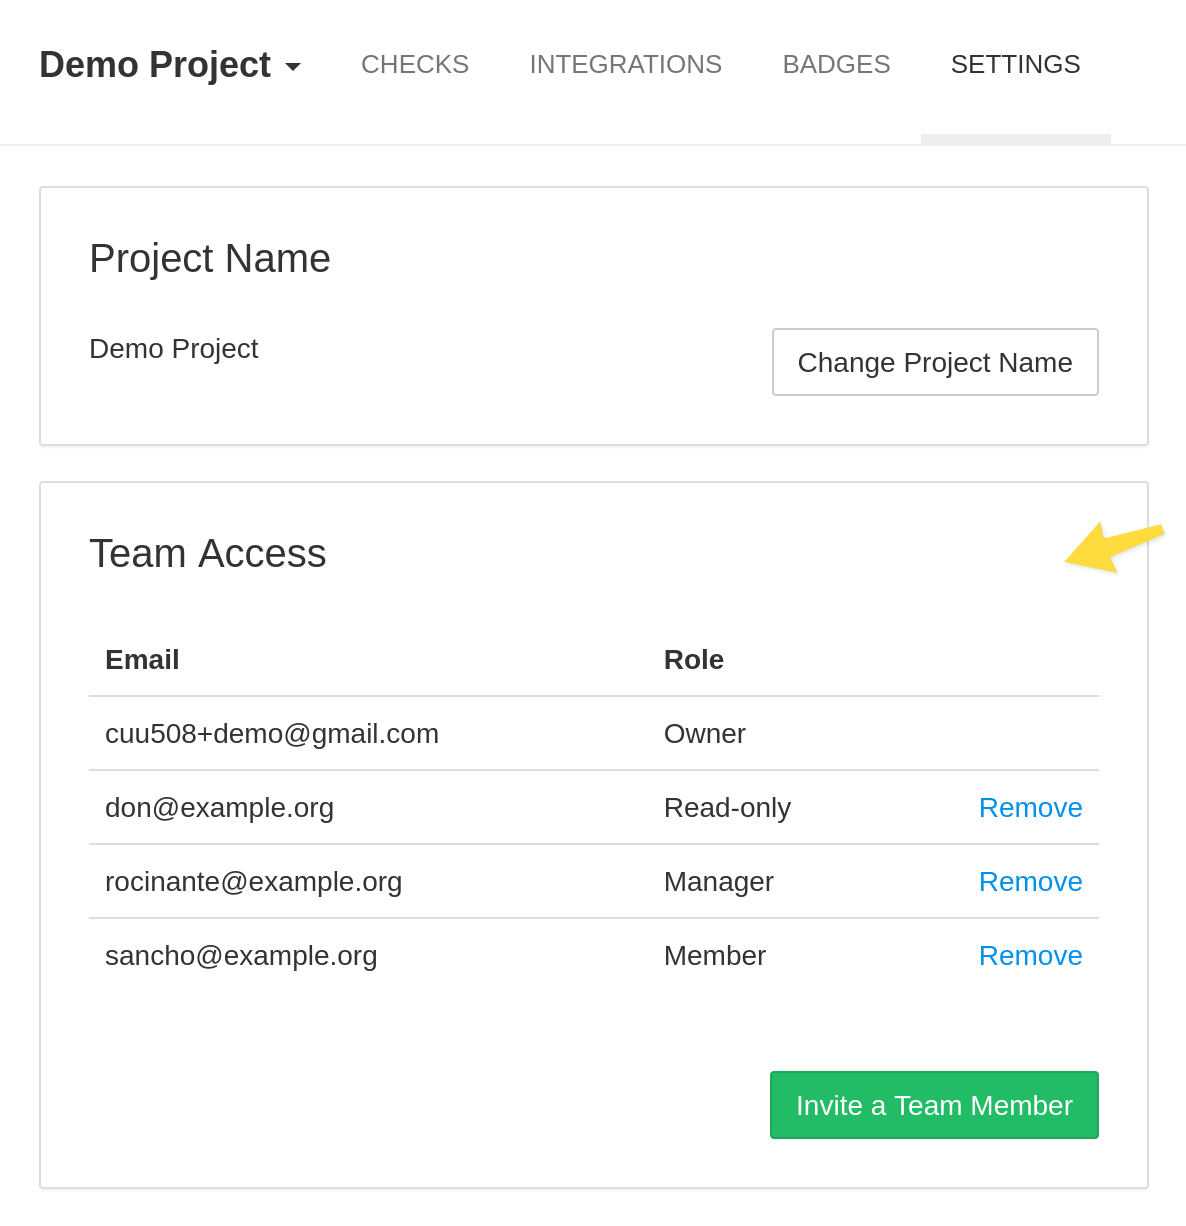
You can manage each project's team from its Settings page:

The user who created the project is listed as Owner. When you invite a user to the project, you can select one of the three roles for their membership: Team Member (what you usually want), Manager or Read-only.
Team Members can:
- create, edit and remove checks
- create and remove integrations
- rename the project
- view and regenerate project's API keys
- give up their membership (from their Account Settings page)
Team Members can not:
- invite new members to the project
- change project's owner
- manage project owner's billing settings
- remove the project
Managers have the same permissions as Team Members, with one exception: Managers can invite new members and remove existing members from the project's team. Managers still can not change or remove the project's owner, or manage billing.
Read-only members can:
- view checks, including check details and ping logs
- view integrations
- give up their membership
Read-only members can not modify checks, integrations, or project settings. They also cannot access the project's API keys, as that would effectively give them read-write access through API.
Transferring Checks Between Projects
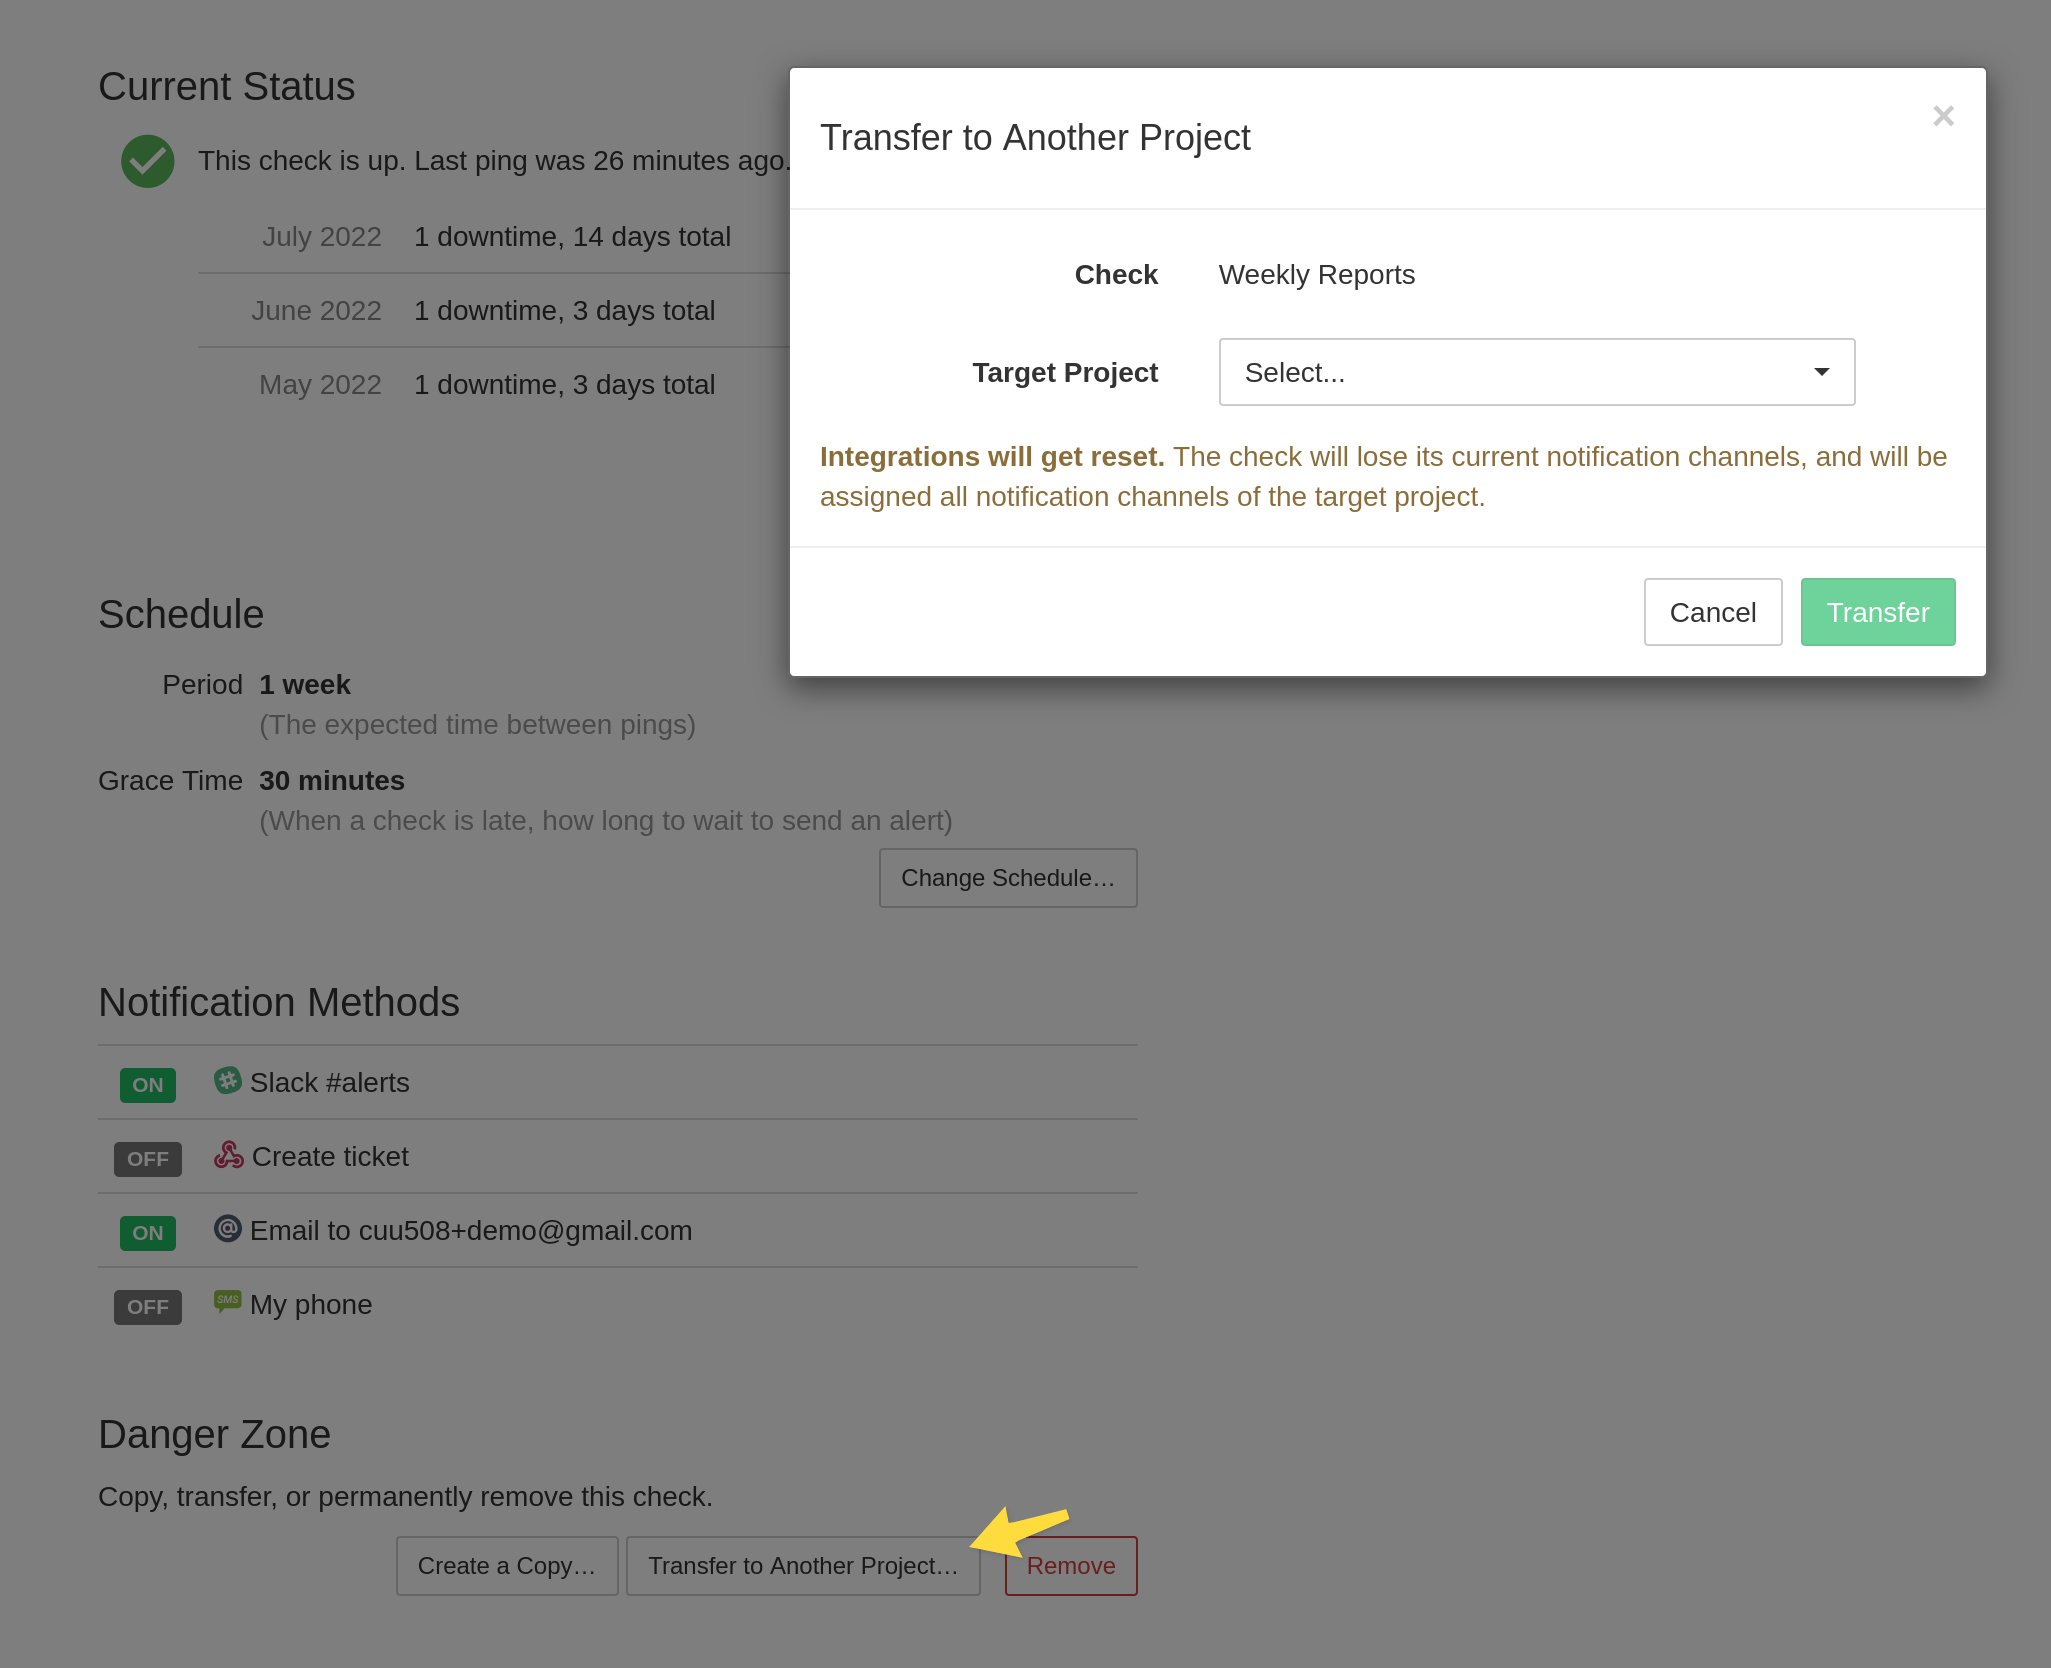
You can transfer a check between projects, and keep its ping address. To transfer a check, go to its details page, and look for the "Transfer to Another Project…" button.

The transfer dialog will list all projects you have access to (with the Team Member or Manager role). If you do not see a particular project in the dialog, make sure you are logged into the correct user account, and your user account belongs to the project's team.
Transferring Projects Between Accounts
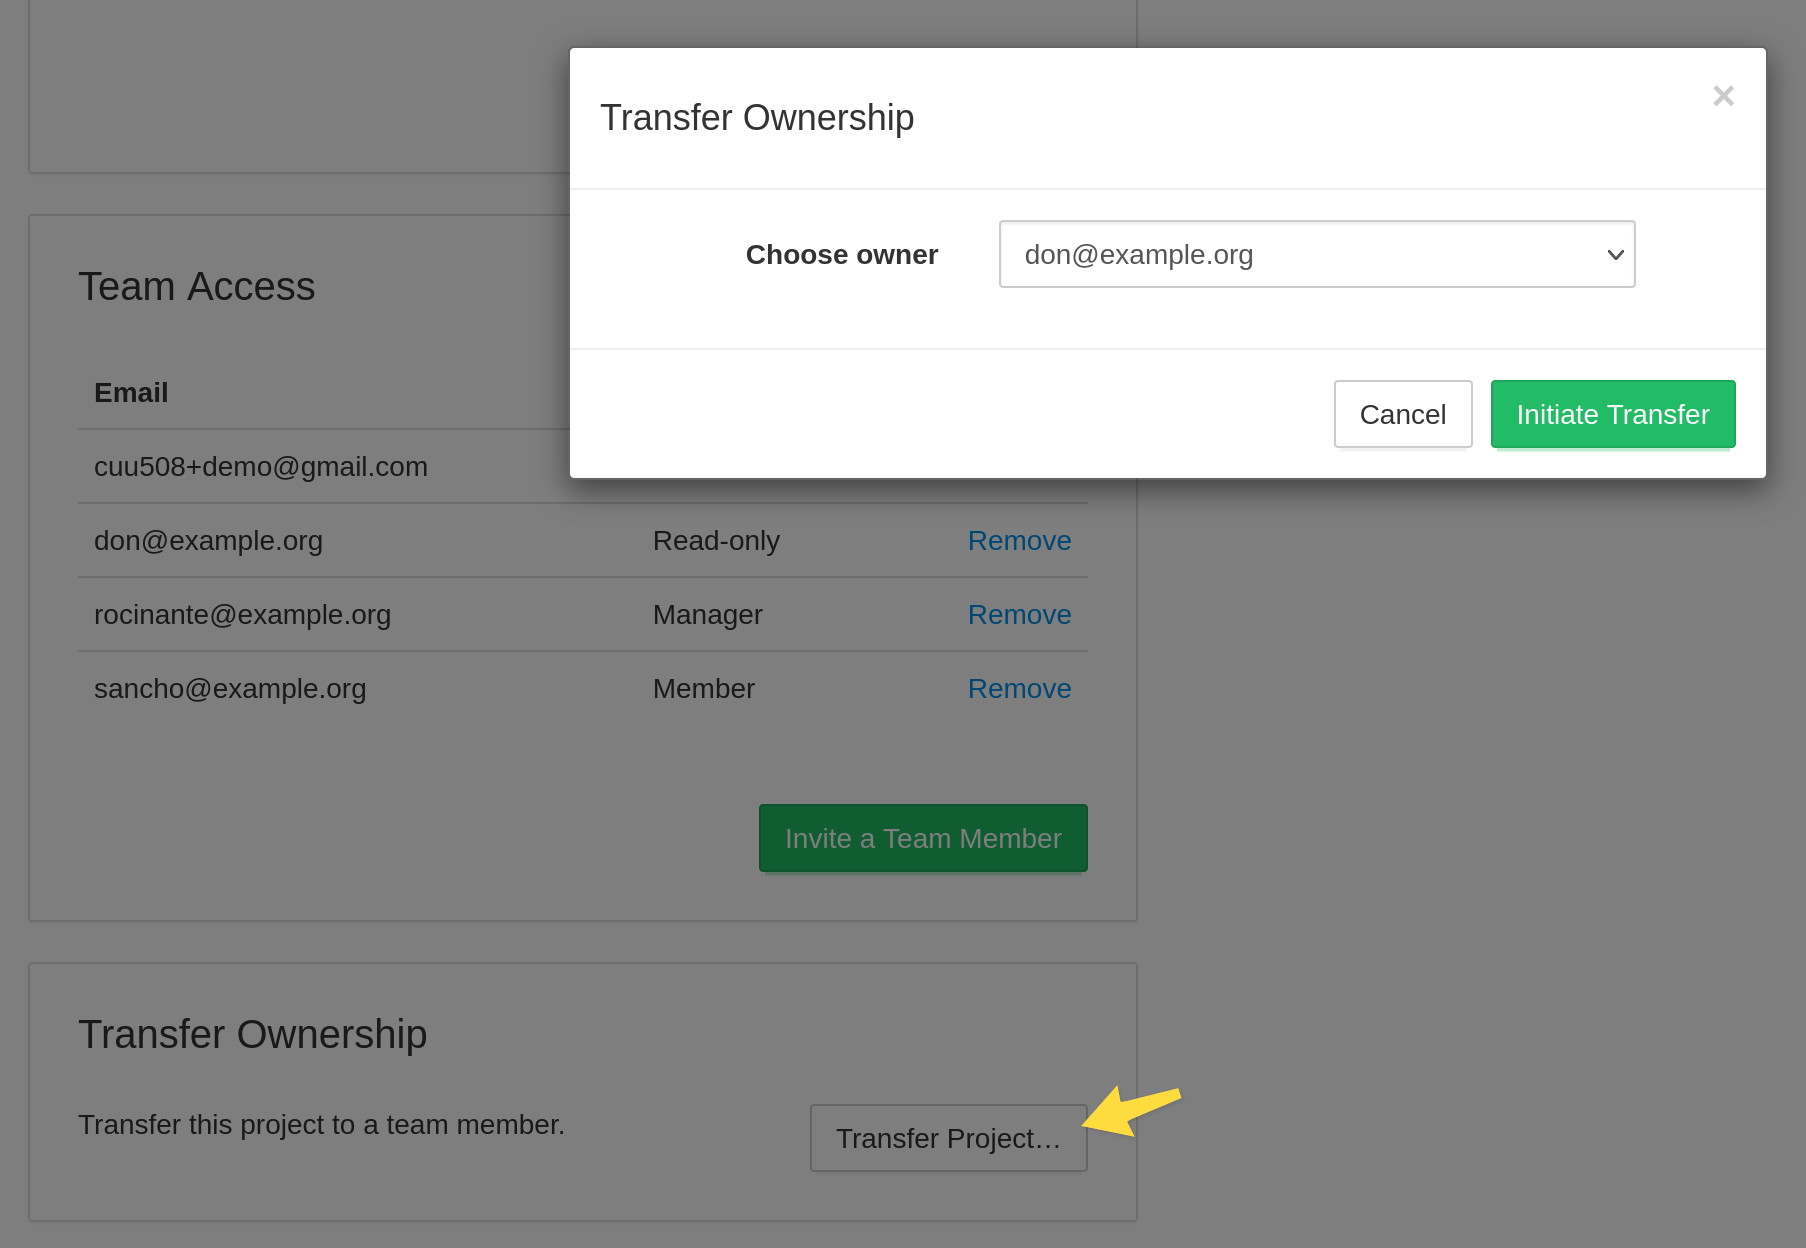
You can transfer entire projects between ztn.sh healthchecks accounts. This is particularly useful when consolidating multiple accounts into one account. To transfer a project, go to its settings page, and look for the "Transfer Project…" button. Only project's owner can transfer the project to another account–if you are not the owner, you will not see the button.

The transfer dialog will list the current team members. Select the desired new owner, and click "Initiate Transfer". The chosen team member will receive an email asking to confirm the ownership change. After they confirm, they will become the project's owner, and you will become a Team Member.
Check Limits and Team Size Limits
Check Limit is the total number of checks your account can have. The specific limit depends on the account's billing plan. When you reach the Check Limit, you will not be able to create new checks.
All projects owned by your account shares your account's Check Limit. For example, consider a Business account with two projects, "Project A" and "Project B." If A has 70 checks, then B cannot have more than 30 checks in order to not exceed the Business account's total limit of 100.
However, only checks from your own projects count towards your account's quota. If you get invited to somebody else's project, that does not change the number of checks you can create in your projects.
Team Size is the number of unique users you can invite to your projects. Same as with Check Limit, all projects share your account's Team Size limit. However, if you invite the same user (using the same email address) into multiple projects, it only takes up a single seat. In other words, ztn.sh healthchecks limits the number of distinct users invited into your projects, not the number of team memberships.
Projects and Monthly Reports
ztn.sh healthchecks sends periodic email reports with a summary of checks from all your projects. The reports contain status summaries for both the projects you own and the projects you are a member of.
You can configure the frequency of the reports (monthly, on the 1st of every month, or weekly, on Mondays) or turn them off altogether in Account Settings › Email Reports.